Saturday, April 9, 2011

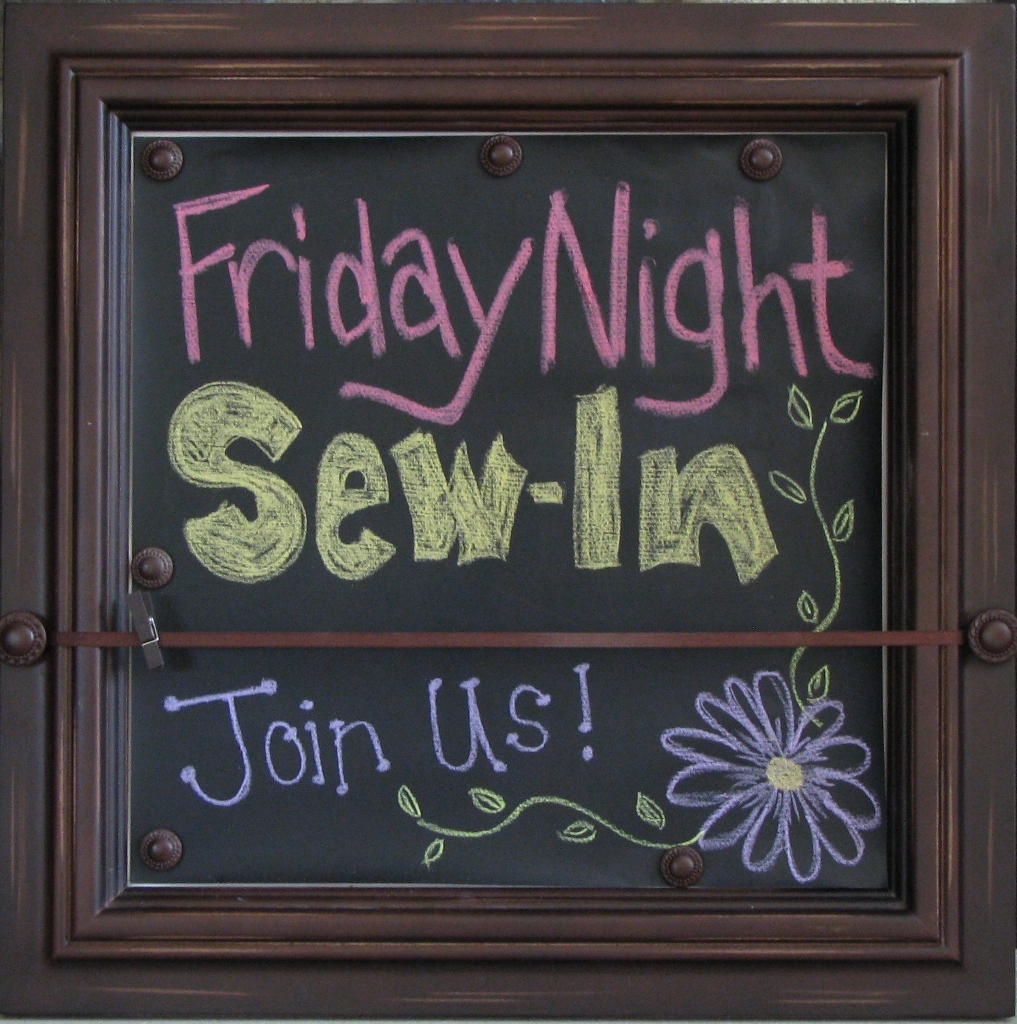
NEW Friday Night Sew-In Blog Button!

Get it while it's HOT HOT HOT!!!

We have updated the Blog Button for the Friday Night Sew-In. What do you think?


You can add to your blog - or update the one you already have! It's up to you.  The code to add to your blog is at the top of my sidebar!

How to for Blogger:
Copy the code in the text box on my sidebar (Ctrl C)
Click design
Select Add Gadget
Select HTML/Javascript
Paste code (Ctrl V)
Save


** The signup for the upcoming FNSI will be posted tomorrow! Pin It

Wednesday, April 6, 2011

Garden Update

I thought I would give you a little update on the garden and show you something I received in the mail today.

So far our seeds are sprouting like crazy.

And Kristen from Las Vegas sent me this sweet little package with some seeds for lettuce, melons and adorable flowers.


She also sent this sweet fabric! I fell in love with it instantly. I want to make something with it - I'm leaning towards a pillow of some kind. Or something to hang on the wall.


It's a beautiful Spring day here - I have windows open letting the fresh air in. Now I'm off to plant some more seeds in these little containers.


This garden of ours might be a bit big.. but I'm hopeful and motivated. It helps that my husband is excited about the garden too. And he has always taken pride his his lawn and spends alot of time outside when the weather is nice. I sometimes tease that he loves his grass more than me. Ok.. probably not - but it's a close race.

I love Spring! Pin It

Tuesday, April 5, 2011

Fabric Shopping

So I found some great fabrics for the iSpy Swap that I joined.


These little bikes happen to be my favorite! I love the little basket of flowers.

Now I'd better get cutting so I can get this bundle in the mail. Pin It

Winner.... Winner... We have two Winners!!

I woke bright eyed this morning eager to draw two winners for my recent celebration giveaway. I was anxious to see who random.org would select. Are you ready??

The winner of the Soiree Layer Cake is...

#38 Maria - from Life on the Block Congrats Maria!

And the winner of the journal and Kaffe fat quarters...

#116 Kelly - from Adventures in Quilting Congrats Kelly!

Ok winners - send me your mailing address and I will package these up for you and get them on their way!!

Now - I have quite a few things to share with you guys - BUT I have some computer issues that we are working on. And if I can't get it working and back to normal by the weekend.. my laptop will be spending the weekend as an inpatient at the PC Dr. Wish me luck!! Pin It

Sunday, April 3, 2011

Gone to the Birds!

I recently received a newsletter in the mail from one of the quilt stores here in town. They had this little tidbit in there and I love the idea so much - I wanted to share with all of you!

Keep a container (Mason Jar works well) next to your sewing machine/work space. Toss thread scraps and bits of batting in there. Then add them to your bird suet-feeder.


The birds will use your scraps of thread and batting to build their nests. Hows that for RECYCLING!!! Pin It

Saturday, April 2, 2011

Let's Celebrate!!

First let me say THANK YOU! Thank you to all of you for being here, reading and leaving comments. I read each and every comment and appreciate them all. Sharing with all of you is what keeps me motivated!

To celebrate reaching 500 followers along with my 2 year blogiversary - I am having a giveaway!

I will be selecting 2 winners.. yes.. TWO!!

Winner #1 will receive this awesome layer cake of "Soiree" by Lila Tueller for Moda.


Winner #2 will receive these 3 Fat Quarters of Kaffe Fassett fabric along with an "idea" journal.


How to enter

For 1 Entry: Just leave a comment.

If you want a 2nd entry - you can blog about it. Then come back and leave me a second comment telling me that you are spreading the word!

I will leave open until Tuesday morning at 7am Central Time.

Good Luck!
Pin It

Friday, April 1, 2011

iPOD Cover - The Tutorial

Do you have an iPod Touch? I love mine and the cover that I made last year needed some improvements. So I revamped and made a new one. I love this new pattern so much - I had to share so you can make one too!

These would also make a great Christmas gift - and now is the time to start making those gifts!! 


Supplies needed:
2 Fat Quarters of fabric. (1 for interior and 1 for exterior)
Fusible Interfacing. (I used Pellon 987 fusible fleece)
3/8 inch wide Black elastic
Closure - Either snap or velcro would work.


Step 1: Cut a rectangle 11 1/2 x 7 inches from EACH fabric and the fusible interfacing.


Step 2: Fuse the interfacing to your exterior fabric.

Step 3: Mark your corners as follows
Bottom corners: 2 inches in by 2 1/4 inches up
Top corners: 2 inches in by 4 1/4 inches down
Mark both the interior and exterior fabrics


Step 4: Cut out the corners

Step 5: Next you will create the notch for the headphones. You will measure in 3/4 of an inch and 1/2 in wide.
To make sure you mark the appropriate place on each piece - put them RST (right sides together). 


Step 6: Place your fabrics RST and sew all around with 1/4 seam allowance. Make sure to leave an opening for turning.
Step 7: Before you turn, you will need to trim the outer corners and snip the inner angles. Both shown in the picture below. Make sure not to accidently cut the stitching.

Step 8: Turn right sides out and press. Next you will stitch all around the outside using 1/8 in seam allowance. You will be closing your opening at this time.

Step 9: Take the elastic and cut 2 pieces to 3 1/4 inches each. To ensure proper placement - it's a good idea to put the iTouch there if you have it. If you are making as a gift and don't have the iTouch handy - you can get a good idea of placement from picture below. Pin in place.

Step 10: Stitch in place. Stitching through all layers. I backed up once to reinforce the stitching.

Step 11: This next step can get a little tricky. You will fold over the elastic to stitch the other side. You need to get creative to keep it in place as you try to get under the needle.


Step 12: Next you will install the closure. I used a snap. I bought these at Walmart. They are very easy to install. Follow package instructions for installation.

You can also use velcro for this step. Either would work just fine.


Step 13: Sit back and enjoy your new iTouch cover!!


As always - if you have questions, don't hesitate to email me and ask. And if you make one - I'd love to see it!!  

Pin It